Google Chrome is the default browser on Chromebook, and it is the popular browser for all major operating systems. One of the best things about Google Chrome is its ability to install extensions to enhance the browsing experience.
This feature helps improve functionality, usability, privacy, and productivity. Here’s a complete guide on how to install and manage Google Chrome extensions on a Chromebook. So, without further ado, let’s get started.
How to Install Google Chrome Extensions on Chromebook
To install Chrome extensions on Chromebook, you can use the Chrome Web Store. It is a marketplace for extensions and themes for Google Chrome and Chromium-based browsers.
Here are steps you can follow to install Google Chrome Extensions on your Chromebook:
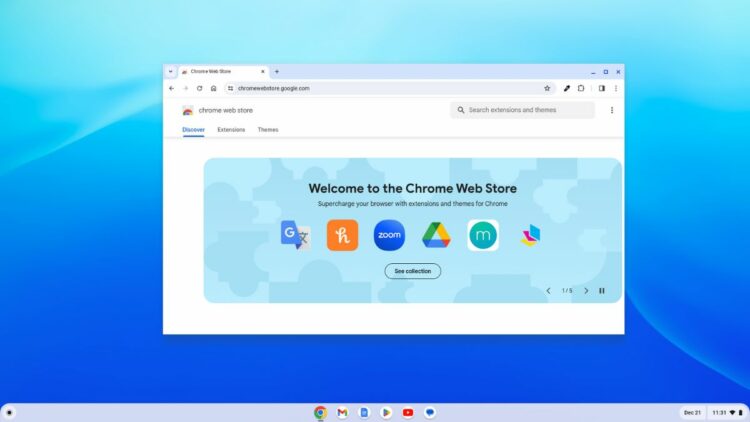
1. Open the Google Chrome browser on your Chromebook and visit chrome.google.com/webstore/
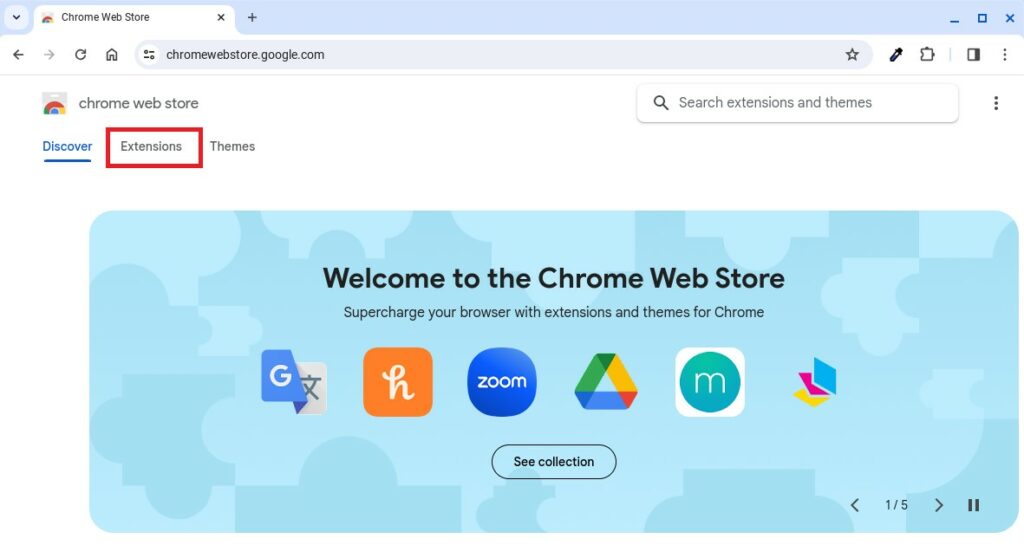
2. It will open the Chrome Web Store. You can search for extensions you want to install on the Chrome browser. Or browse the extensions by category to find the right extensions for you.
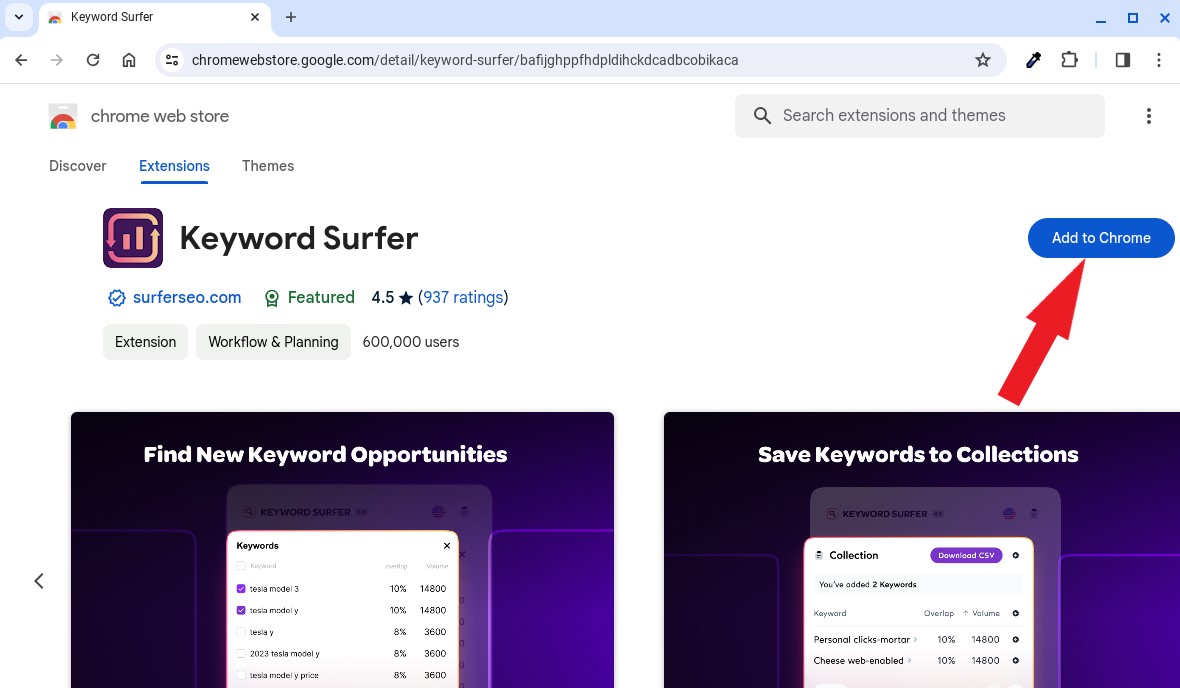
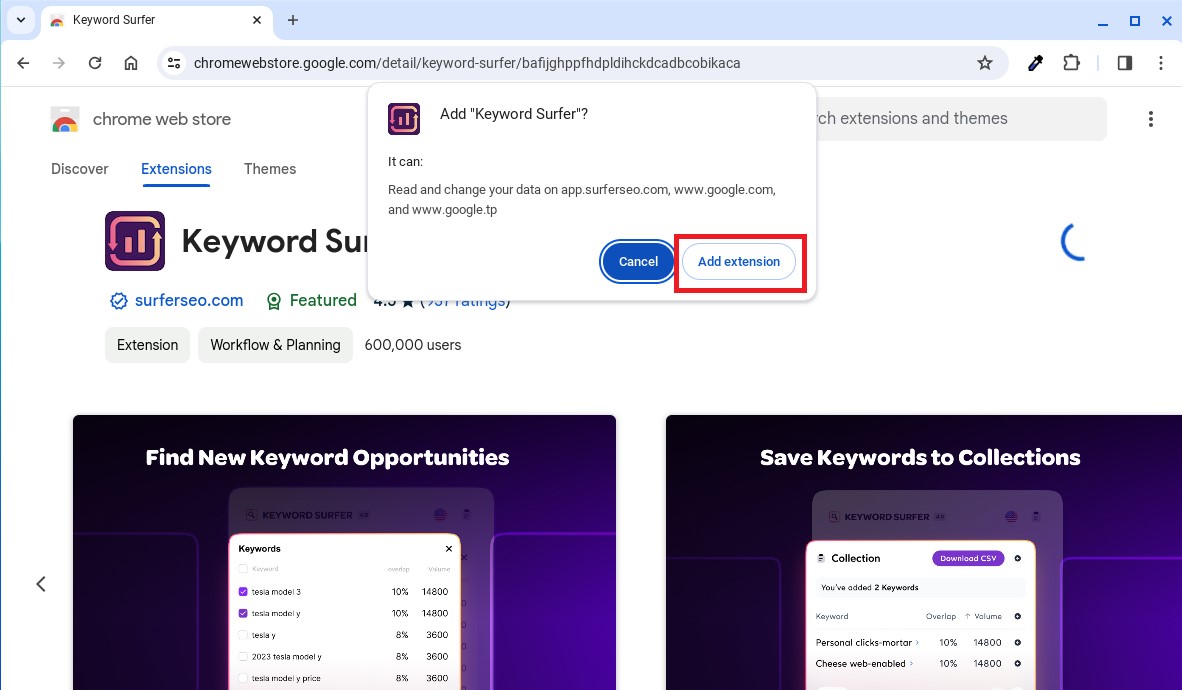
3. After you’ve found an extension you want to add, select the extension and click Add to Chrome to add it to your browser. For instance, if I want to install the Keyword Surfer extension, I’ll search for it and click the Add to Chrome button.
4. After that, a confirmation window will pop up. To confirm, click on the Add Extension button. It will be installed on your Chrome browser.
So, this way you can install a Chrome extension on your Chromebook to add functionality and enhance your working environment on your Chromebook. Now, let’s discuss how to manage them.
How to Manage Extensions on Chromebook
You can add/install Chrome extensions on your Chromebook to enhance your browsing experience. Once you have installed Google Chrome extensions on your Chromebook, you can manage the extensions from the extension page settings.
To manage all the installed extensions on Google Chrome. You can follow the following steps:
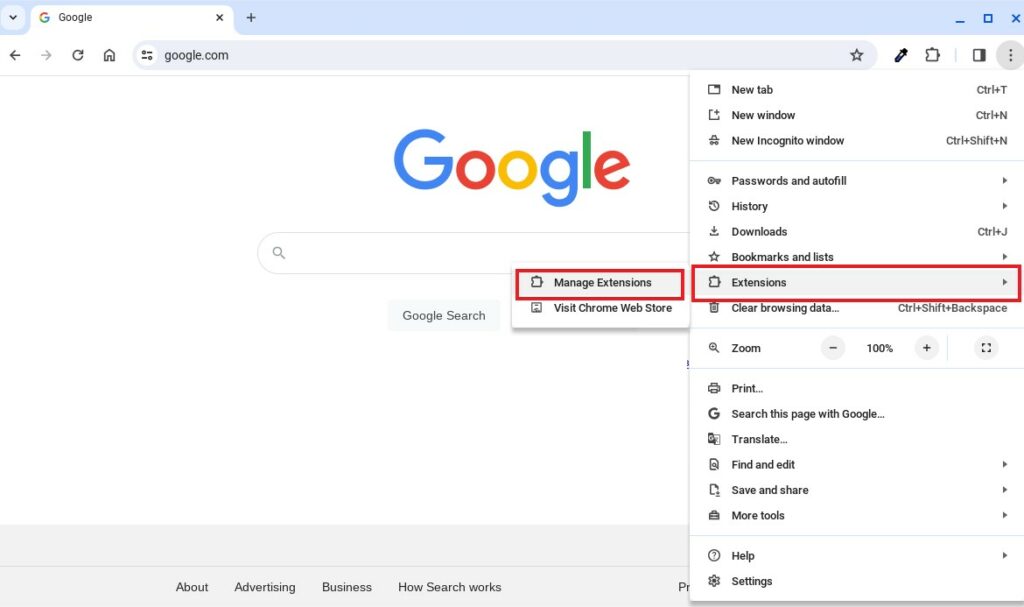
1. Open the extension page. To open the extension page, click the menu icon(three dots) at the top right of Chrome, and select the Extensions option.
2. Then, click on the Manage Extensions option from the context menu.
3. You can also click on the extension icon on the toolbar and click on Manage Extensions or visit chrome://extensions
4. Next, you will find all the extensions installed on your Chrome.
5. Here, find the extension you want to manage. Then, click on the Details button to manage site access and other permissions.
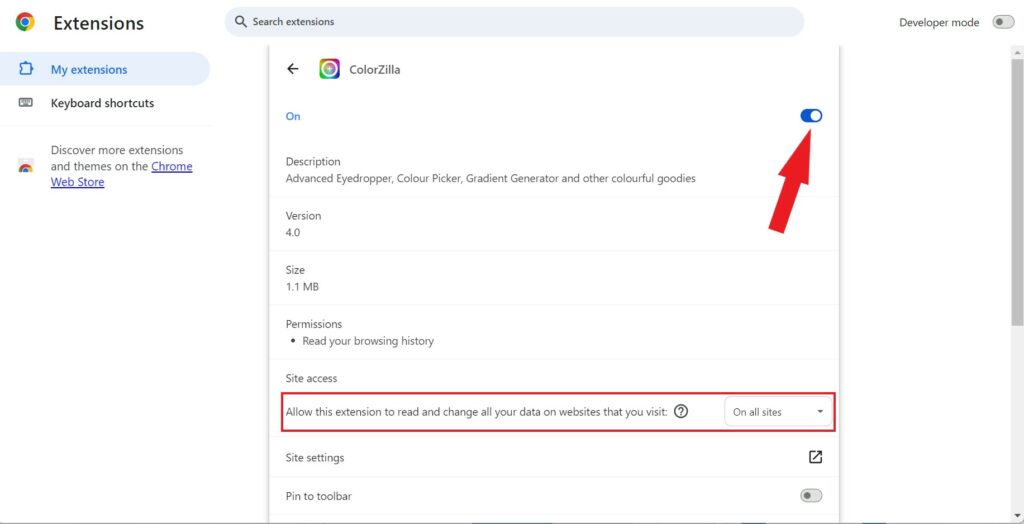
6. Now, if you want to disable the extension for the Google Chrome browser, you can also do so. To temporarily disable the extension, simply Turn Off the toggle next to the extension name.
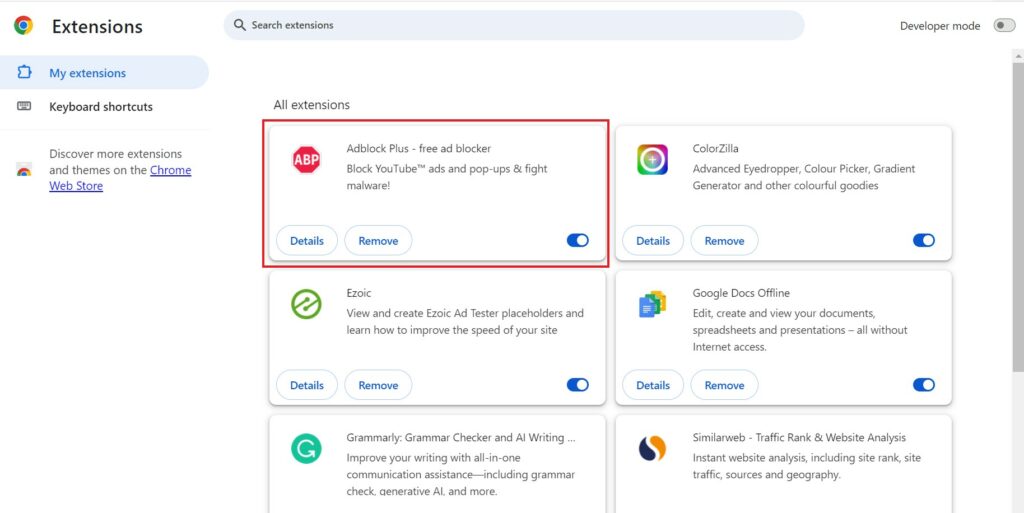
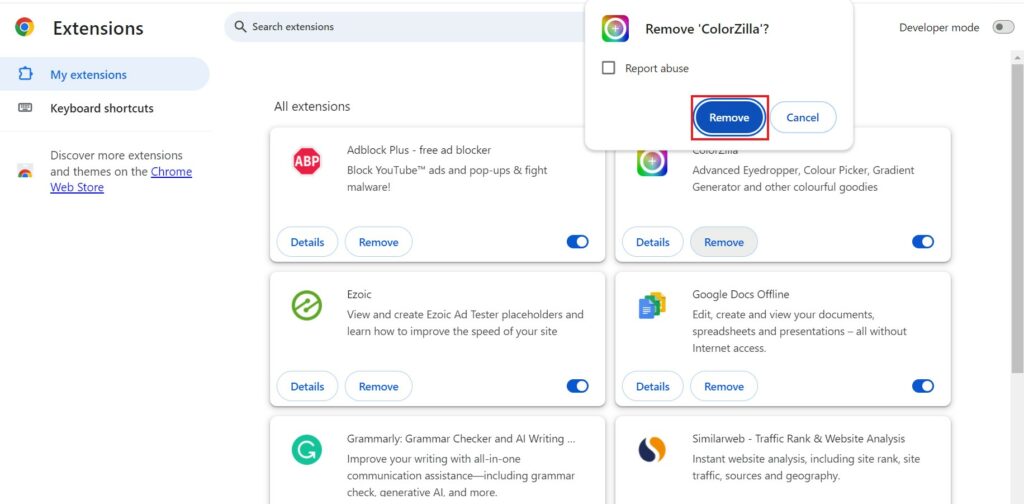
7. To remove the extension, you need to click on the Remove button. A pop-up window will appear, click the Remove button again to confirm your action.
Conclusion
Installing Google Chrome extensions on your Chromebook is a straightforward process that can significantly enhance your browsing experience, whether you’re looking to boost productivity, improve security, or add a touch of personalization to your Chromebook.
However, if some extensions are no longer in use or causing issues, you can remove them or you can also update the Chrome extensions. By following the steps outlined in this guide, you’ll be able to effortlessly integrate extensions into your Chromebook and unlock a world of functionality and convenience.